
When sewing multiple units together, such as two rows without sashing in between, nesting your seams is a very important step. This way, your quilt will lay nicely and won’t be bulky at the seams. Your long-arm quilting lady will appreciate this because her presser foot won’t catch on the bulkiness of your seams as she quilts your quilt. Bulky seams can feel like a speed bump on the long arm machine, which can pull the quilt. This results in a ruined stitching design, or worse, a ripped quilt!
But what does it mean to nest your seams?
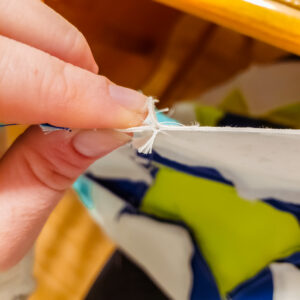
When seams get bulky, pressing them in opposite directions is called nesting.

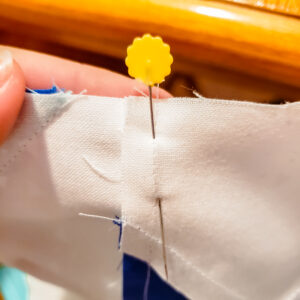
Place a pin in-between the seams and stitch them together.
One big contributor to bulky seams is your feed dogs. Feed dogs are the teeth underneath the presser foot that grabs the fabric and “feeds” it through your machine. The feed dogs do their job so well that sometimes they can stretch and pull your fabric. Pinning your fabric helps combat this by holding your fabric in place while it is fed through your machine. Here are some of the pins that I use.

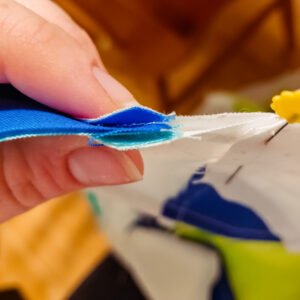
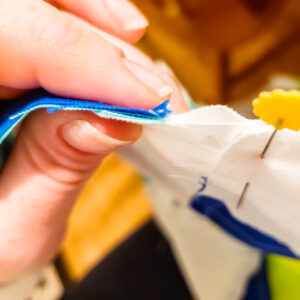
This also works for half-square triangles. Simply flip or finger press one of those seams in the opposite direction, pin, and sew!
Nesting your seams is a simple, necessary process that can save you a huge headache down the road. I hope you’ve enjoyed this Nesting Your Seams- A Tutorial!
Head over to the Yellow Umbrella Quilts shop for fun, quilt patterns for beginners!
Happy Quilting!

