

Simple Binding Tutorial
If you are new to quilting, then this simple binding quilting tutorial is for you! There are a few different ways to bind a quilt, and it’s good to master a few quilt patterns for beginners when you are getting started. Some quilters like the look of hand sewn bindings better than machine sewn bindings, since the thread is hidden. I, however, am not particular on the look of the binding on my quilts.
I have written another blog post on how to bind a quilt using a machine, this one is very similar!
Here’s What You Will Need for This Simple Binding Quilting Tutorial:
- A walking foot. I started using a walking foot to bind quilts and have never looked back!
- Pins. I like these!
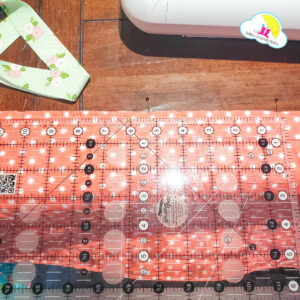
- A 1/4 in. measuring tool.
- Your binding strips. I typically cut my binding strips 2 1/4 in. by WOF.
Why Use a Machine?
I choose to machine bind my quilts over hand-stitched for a couple reasons. The first being, it is a huge time saver. Secondly, machine bound quilts will be less likely to wear out over time and in the washing machine. I find it quicker and sturdier to machine bind quilts. This simple binding tutorial is my personal favorite way to bind a quilt.
Making the Quilt Binding Strips:
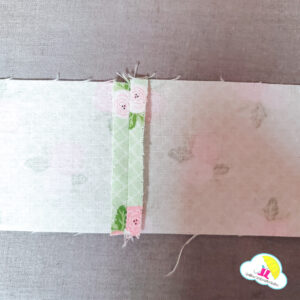
- In this tutorial, I sewed my 2 1/4 in. strips end to end with a 1/4 in. seam allowance, backstitching on start and finish. I pressed my seams open to cut down on some of the bulkiness when sewing the binding to the quilt.
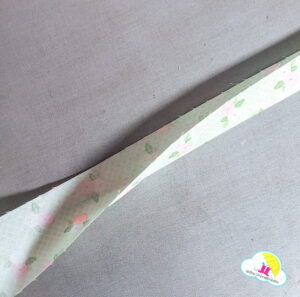
2. Next, you are going to fold your binding in half, with the wrong sides together, and press.
Attach Binding to the Back of the Quilt:
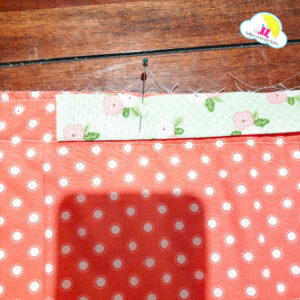
3. Once all of your binding strips are pieced together, folded, and pressed, find the middle of your quilt by folding it in half and placing a pin at the halfway mark on the back of your quilt.
4. Now, place a pin 5 in. on either side of your middle marker pin.
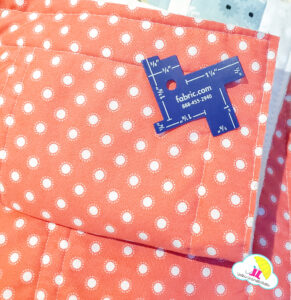
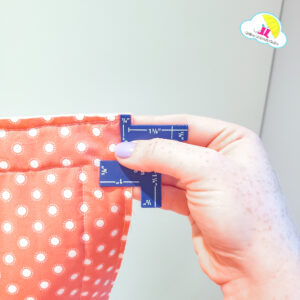
5. Using your 1/4 in. measuring tool, measure 1/4 in from each corner and place a pin.
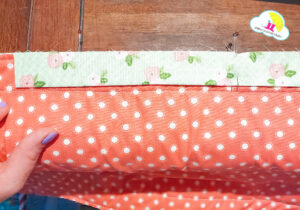
6. Pin binding to the right pin 5 in. from the middle marker pin. Binding should start 1.5 in. to the left of the middle marker pin. This tail will allow enough binding to sew together the start and end of your binding.
Turning Corners:
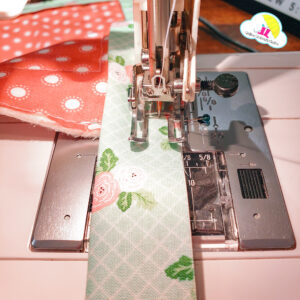
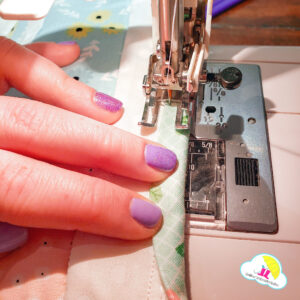
7. Begin sewing binding to the back of your quilt at the pin 5 in. to the right of your middle marker pin. Don’t forget to backstitch! Needle down when you get to 1/4 in. to the end of your quilt. Then, pivot and sew off the quilt.
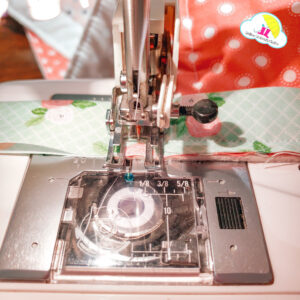
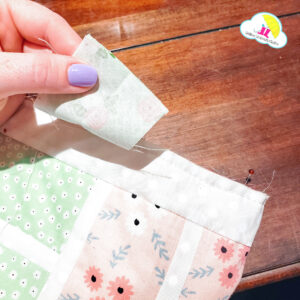
8. Next, fold binding up, perpendicular to seam. Then, fold back down and pin.
9. Continue sewing, starting at the top of the corner. Repeat steps 7 and 8 for all four corners.
10. Once all 4 corners are sewn, stop and backstitch at the pin 5 in. to the left of the middle marker pin.
Joining the Ends:
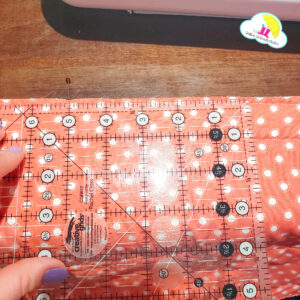
11. Measure tails and trim 1/4 in on either side of the middle marker pin. Sew ends. Press seams open, sew the remaining binding to the quilt.
Sew Binding to the Front of the Quilt:
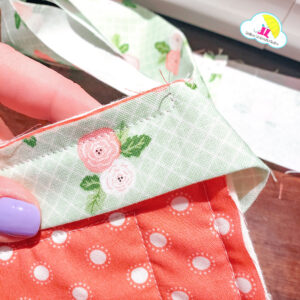
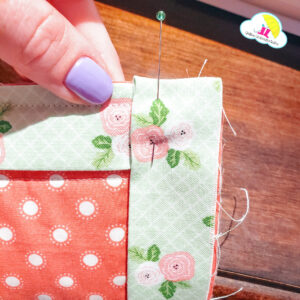
12. Next, set seams, and press the seams up so they are ready to be flipped to the front of the quilt. Corners need to be folded with the side first, then the top.

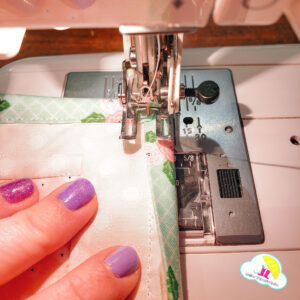
13. When sewing binding to the front, watch where the needle is hitting, not where the edge of the quilt is lined up to the pressure foot. This way, the binding has a more accurate stitch and you won’t accidentally stitch off the binding.
14. Needle down and pivot on the corners.
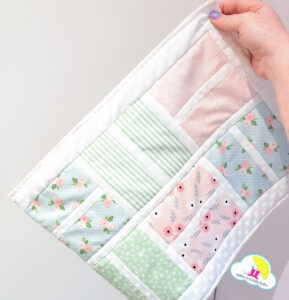
15. Finally, sew all the way around the quilt and it is done!


I hope you have enjoyed this simple binding tutorial. Keep up with our blog for easy quilt patterns and more binding tutorials, and head over to the Yellow Umbrella Quilts shop to find your next project!
This table runner is a free pattern designed by Lindsey.
DISCLOSURE POLICY
This site contains affiliate links. I use affiliate links from time to time. If you use these affiliate links, I may receive a commission at no additional cost to you. Some affiliates are Amazon, Fat Quarter Shop and Accuquilt.
