

Learn to Sew- Table Runner (Free Pattern)
Are you wanting to learn to sew? Or teach your children or grandchildren? Yellow Umbrella Quilts strives to make beginner friendly quilt patterns that are quick and easy. Join us in our new series Learn to Sew! We will be offering simple free pattens to get you aquainted with the ins and outs of the sewing process!
Download the free table runner pattern here: Learn To Sew- Easy Runner
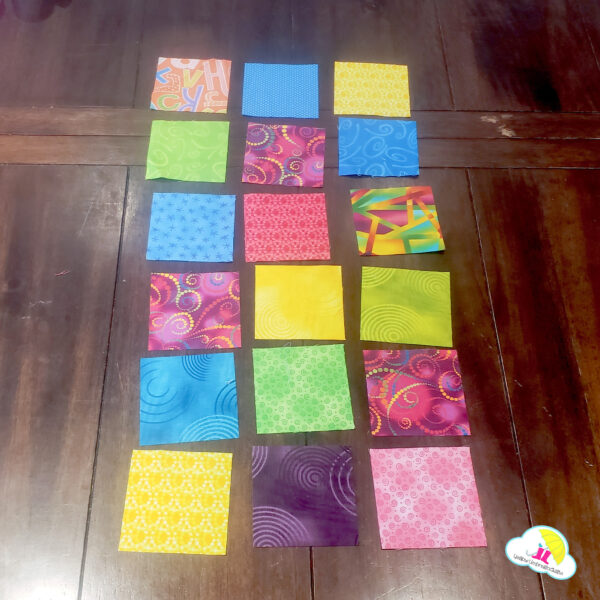
I learned to sew when I was about 8 years old. This year, my daughter Wren joined 4-H and decided she wanted to submit some sewing projects into the fair. Since she is only 7 years old, I wanted a pattern that was fast and easy to fit her attention span. I knew a big first project could cause burnout, so I wanted to keep it ridiculously simple. Thinking of her tiny hands, we chose to cut our fabric into 3.5 in. squares. This pattern would also work with 5 in. squares from a charm pack, but we didn’t want to start learning to sew and have to work around pins at the same time.
Wren dug through the scrap bin and found some fun bright fabrics! Once she ironed the fabric, I cut the fabric into 3.5 in. squares. Next, wren layed out her squares in the way she wanted them stitched together.
.
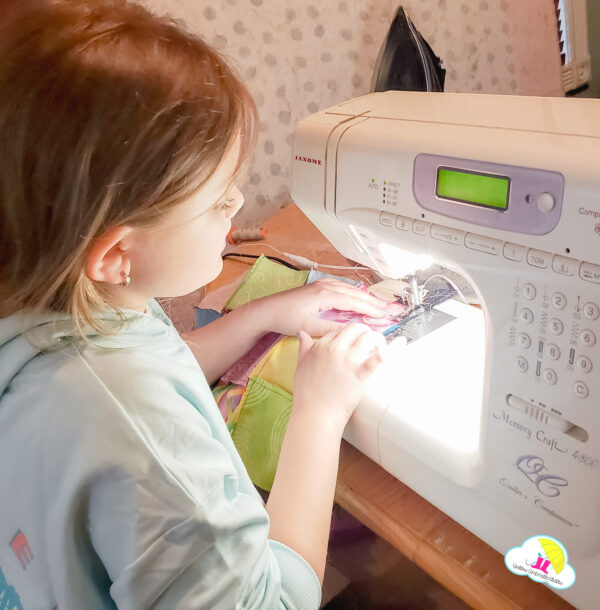
The next step was sewing the 1st row together! *Disclaimer* Before Wren turned on the sewing maching, we had a chat about hand placement and what could happen if tiny fingers get under the presser foot. We also talked through all of the different parts of the machine that she would be using and their functions.
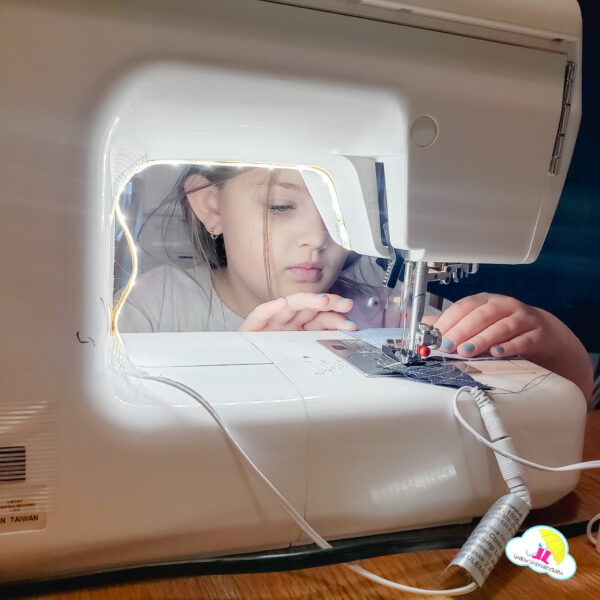
I adore the look of concentration on her face! We kept the machine on the slowest setting to prevent accidents. Once all of the rows were sewn, it was time to sew the rows together!
We placed pins at every seam to help nest seams so the quilt wouldn’t get wonky. After all rows had been sewn together, we went to the ironing board! Wren ironed the back of the quilt first so the seams wouldn’t be pressed the wrong way. Then, she ironed the front.
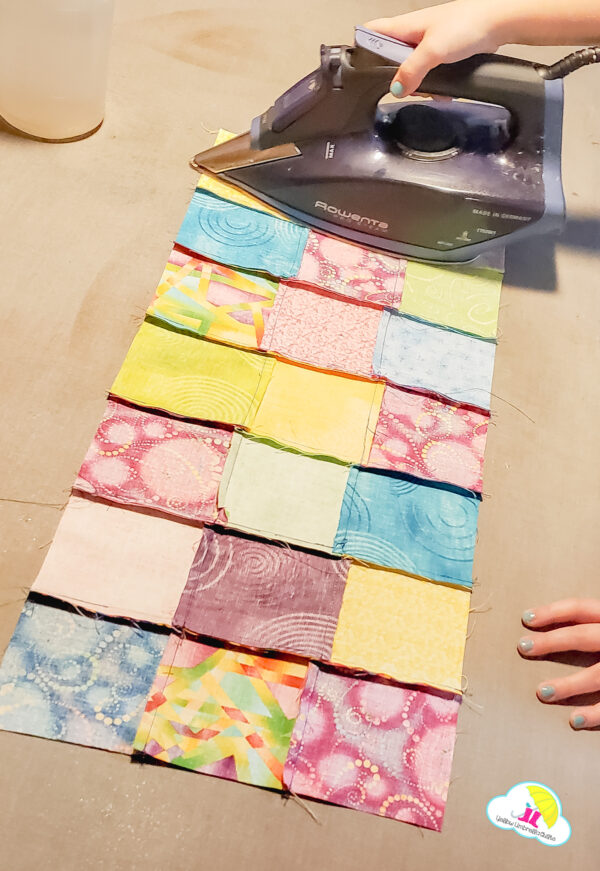
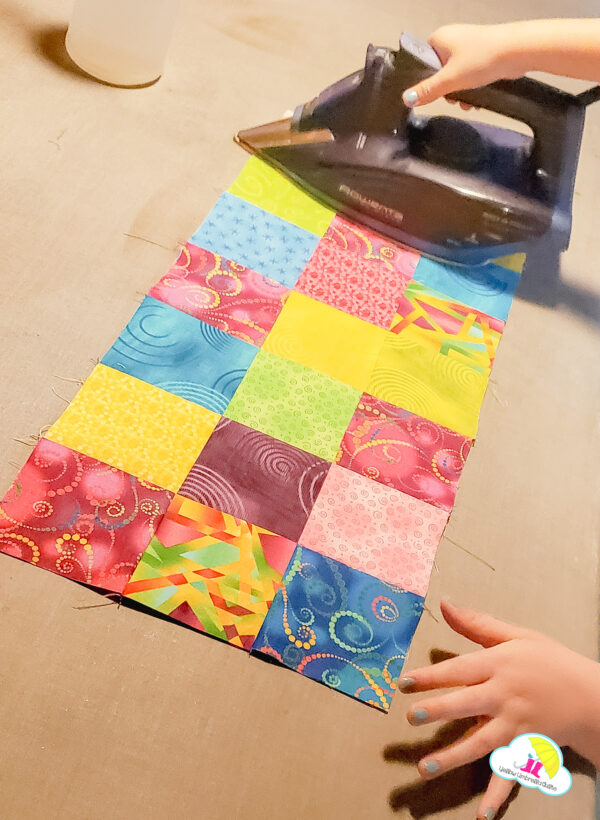
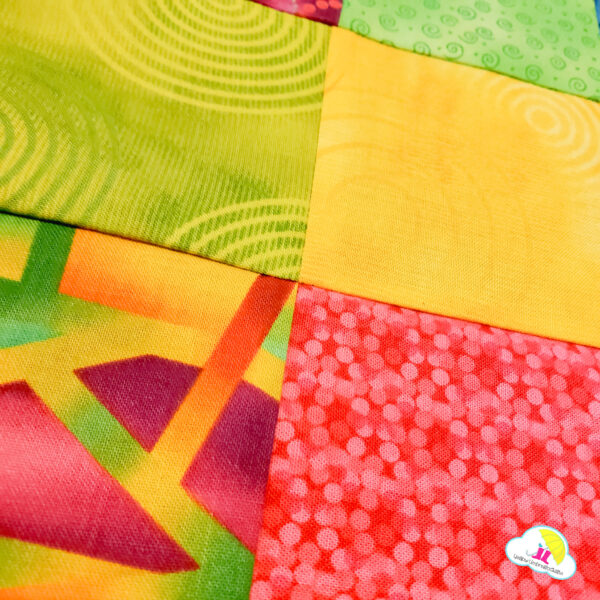
Look at how nice those seams came out!
We could have spray basted the back of the runner to the batting and backing to quilt it on the machine, but Wren elected to send it to the quilter for the “fancy” stitching! 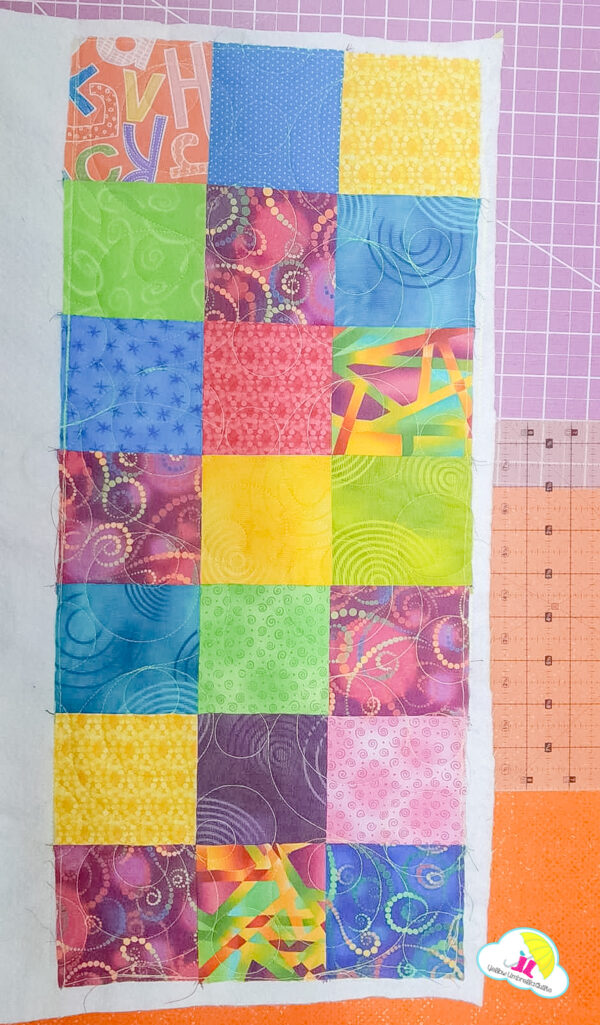
Wren picked Double Bubble #1 from Urban Elementz for her quilting design. Now all that is left is to bind the quilt! Find a free binding tutorial here.
DISCLOSURE POLICY
This site contains affiliate links. I use affiliate links from time to time. If you use these affiliate links, I may receive a commission at no additional cost to you. Some affiliates are Amazon, Fat Quarter Shop and Accuquilt.
